Practical Guide to Incubating Eggs at Home
Incubating chicken eggs at home is an exciting and rewarding experience for poultry lovers. Whether you are a seasoned breeder or an enthusiastic beginner, following a few simple steps can help you succeed in this endeavor.
1. Egg selection:
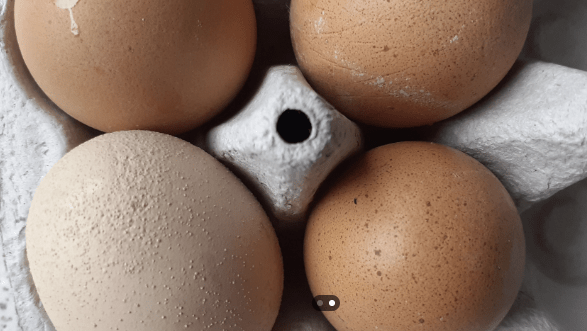
- Choose fresh, good quality eggs for incubation. Make sure they are not cracked.
- Avoid storing eggs for more than seven days before incubating them, as this can reduce the hatching success rate.
2. Preparing the incubator:
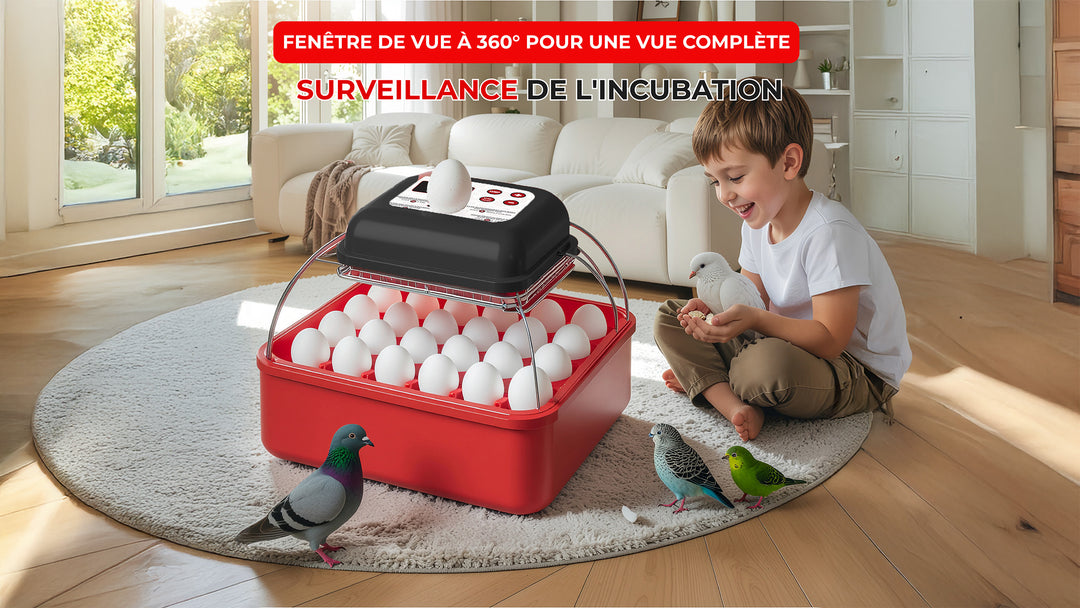
- Make sure your incubator is clean and in good working order before you begin.
- Set the incubator temperature to approximately 37.5°C and the humidity to approximately 50-55%.
3. Egg incubation:
- Place the eggs in the incubator, orienting them regularly to prevent the germ from sticking to the shell.
- Allow the eggs to incubate for approximately 21 days, monitoring temperature and humidity regularly.
4. Hatching of chicks:
- About 3 days before expected hatching, stop turning the eggs and increase the humidity slightly to help the chicks emerge from their shells.
- Once the chicks begin to hatch, do not disturb them and let them complete the hatching process on their own.
5. Post-hatch care:
- Transfer the hatched chicks to a suitable incubator or brooder, with an appropriate heat source, water and food.
- Monitor the chicks carefully to ensure they are healthy and happy.
By following these simple steps, you will be well equipped to successfully incubate yourself at home and enjoy the excitement of seeing your own chicks hatch. Remember, incubating chicken eggs requires patience and attention, but the rewards are worth it!


Leave a comment